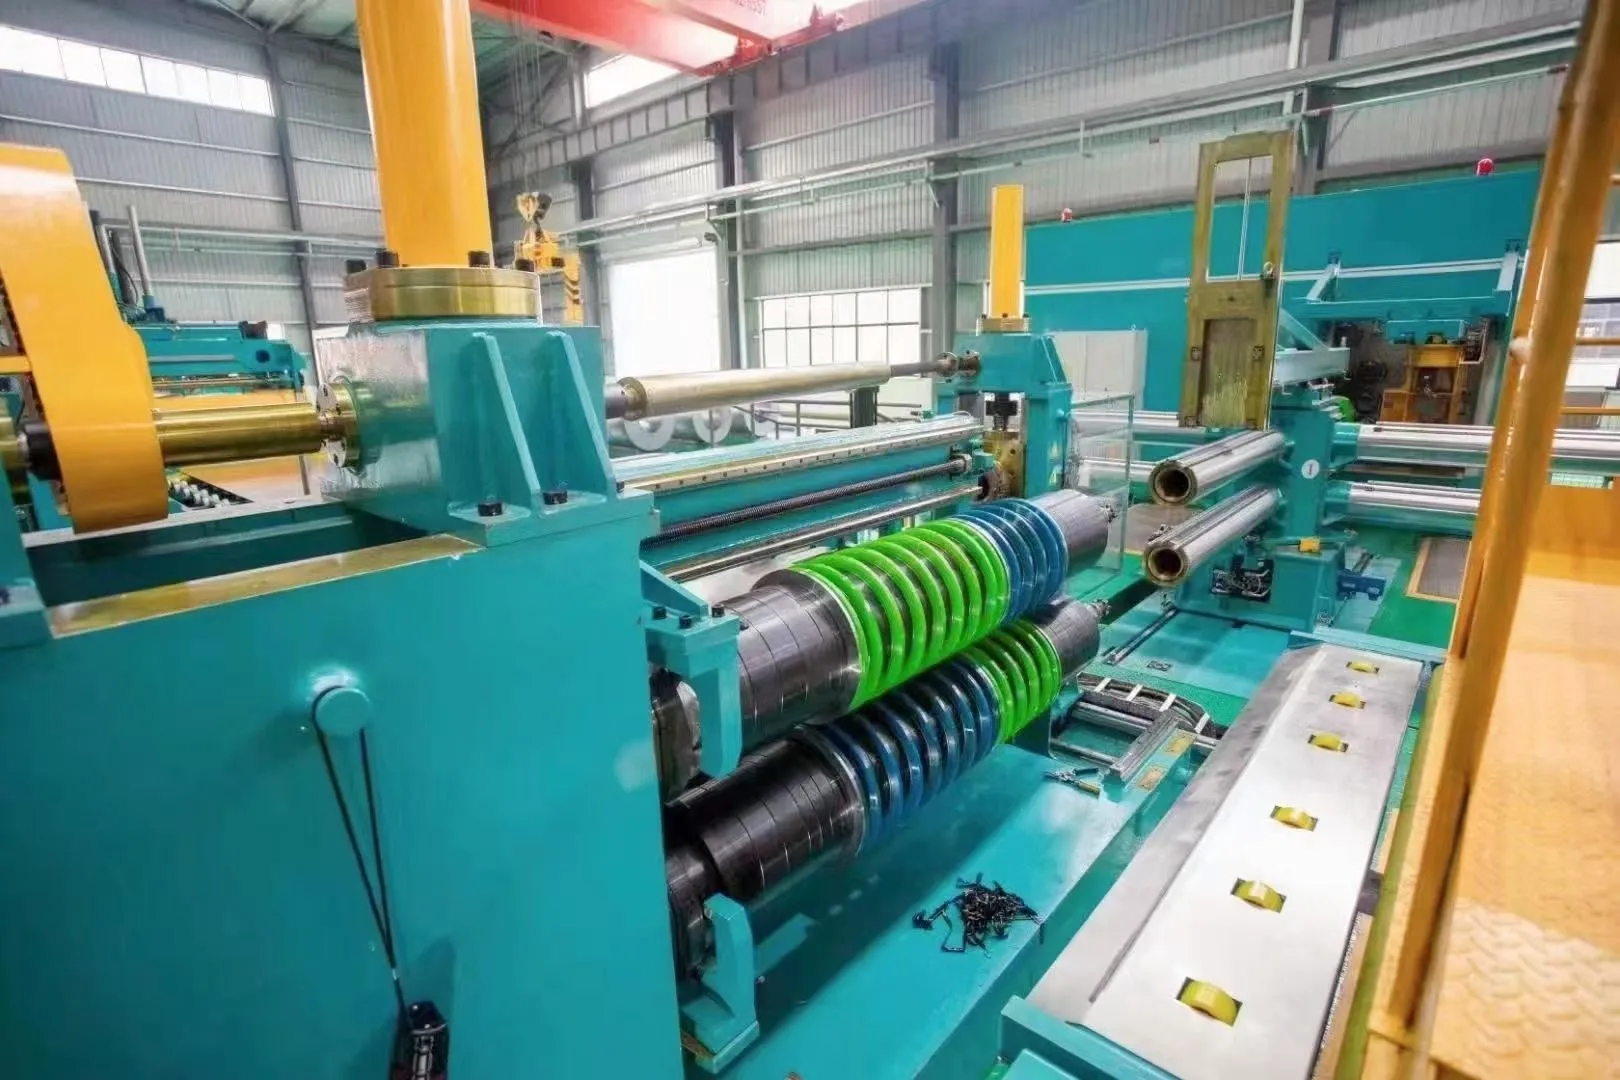
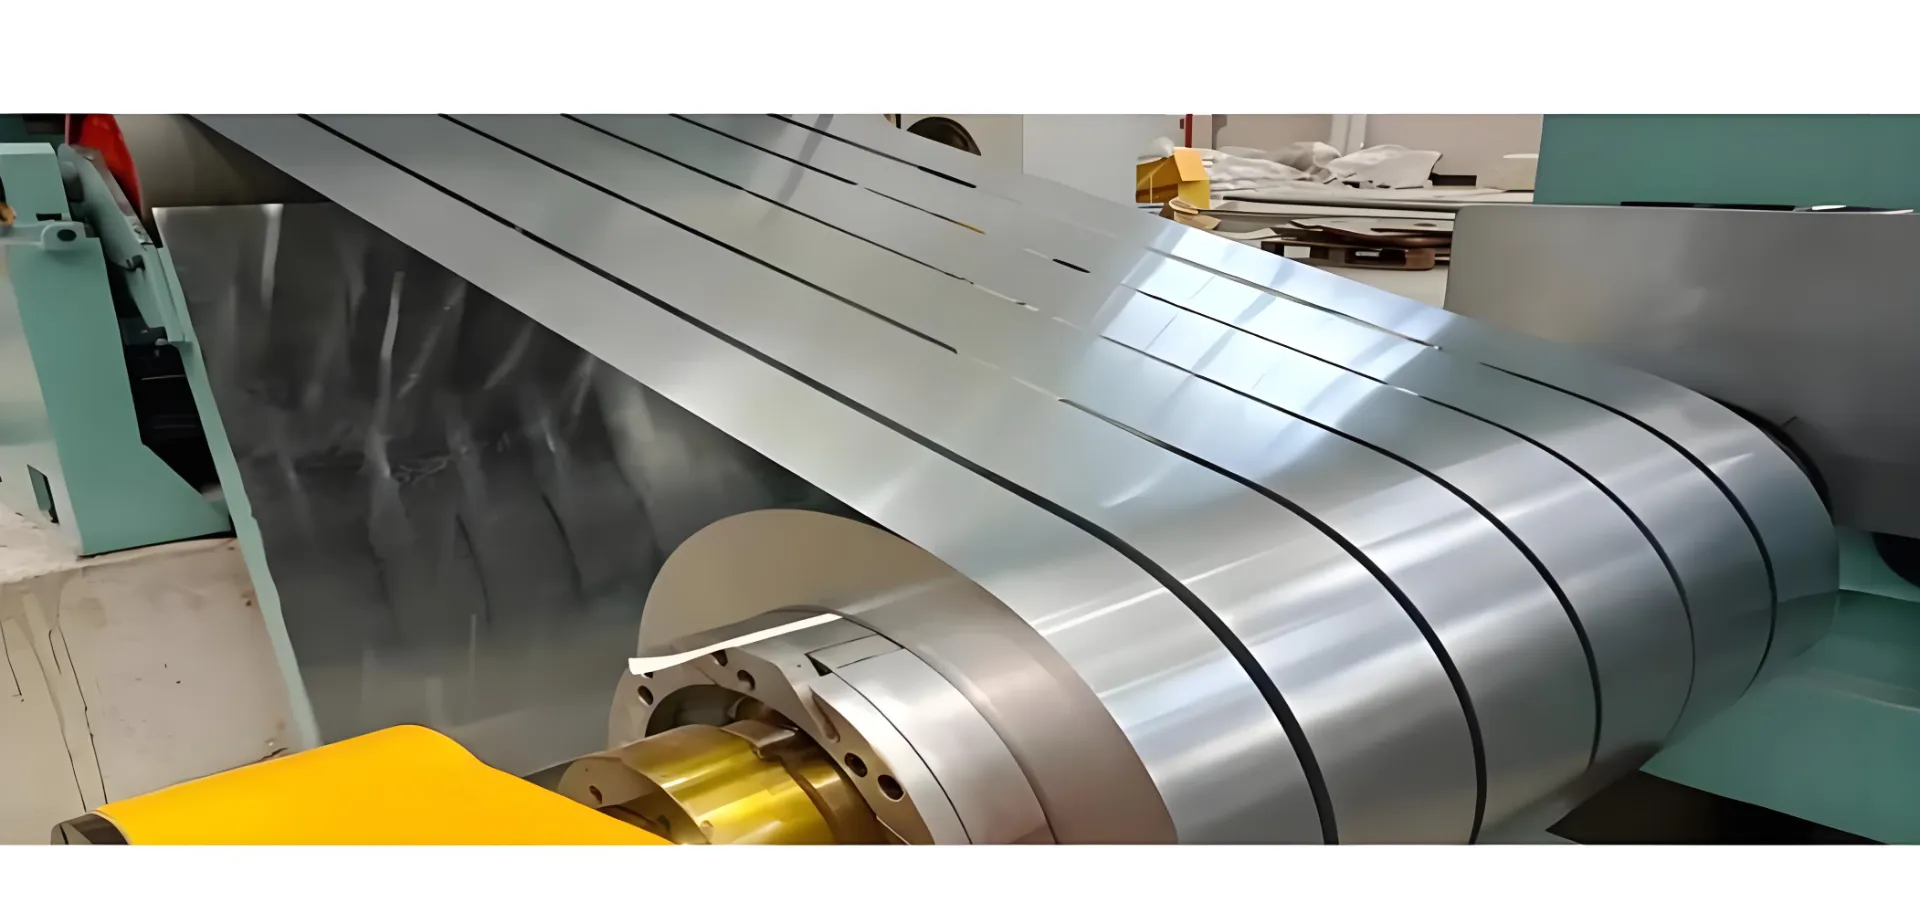
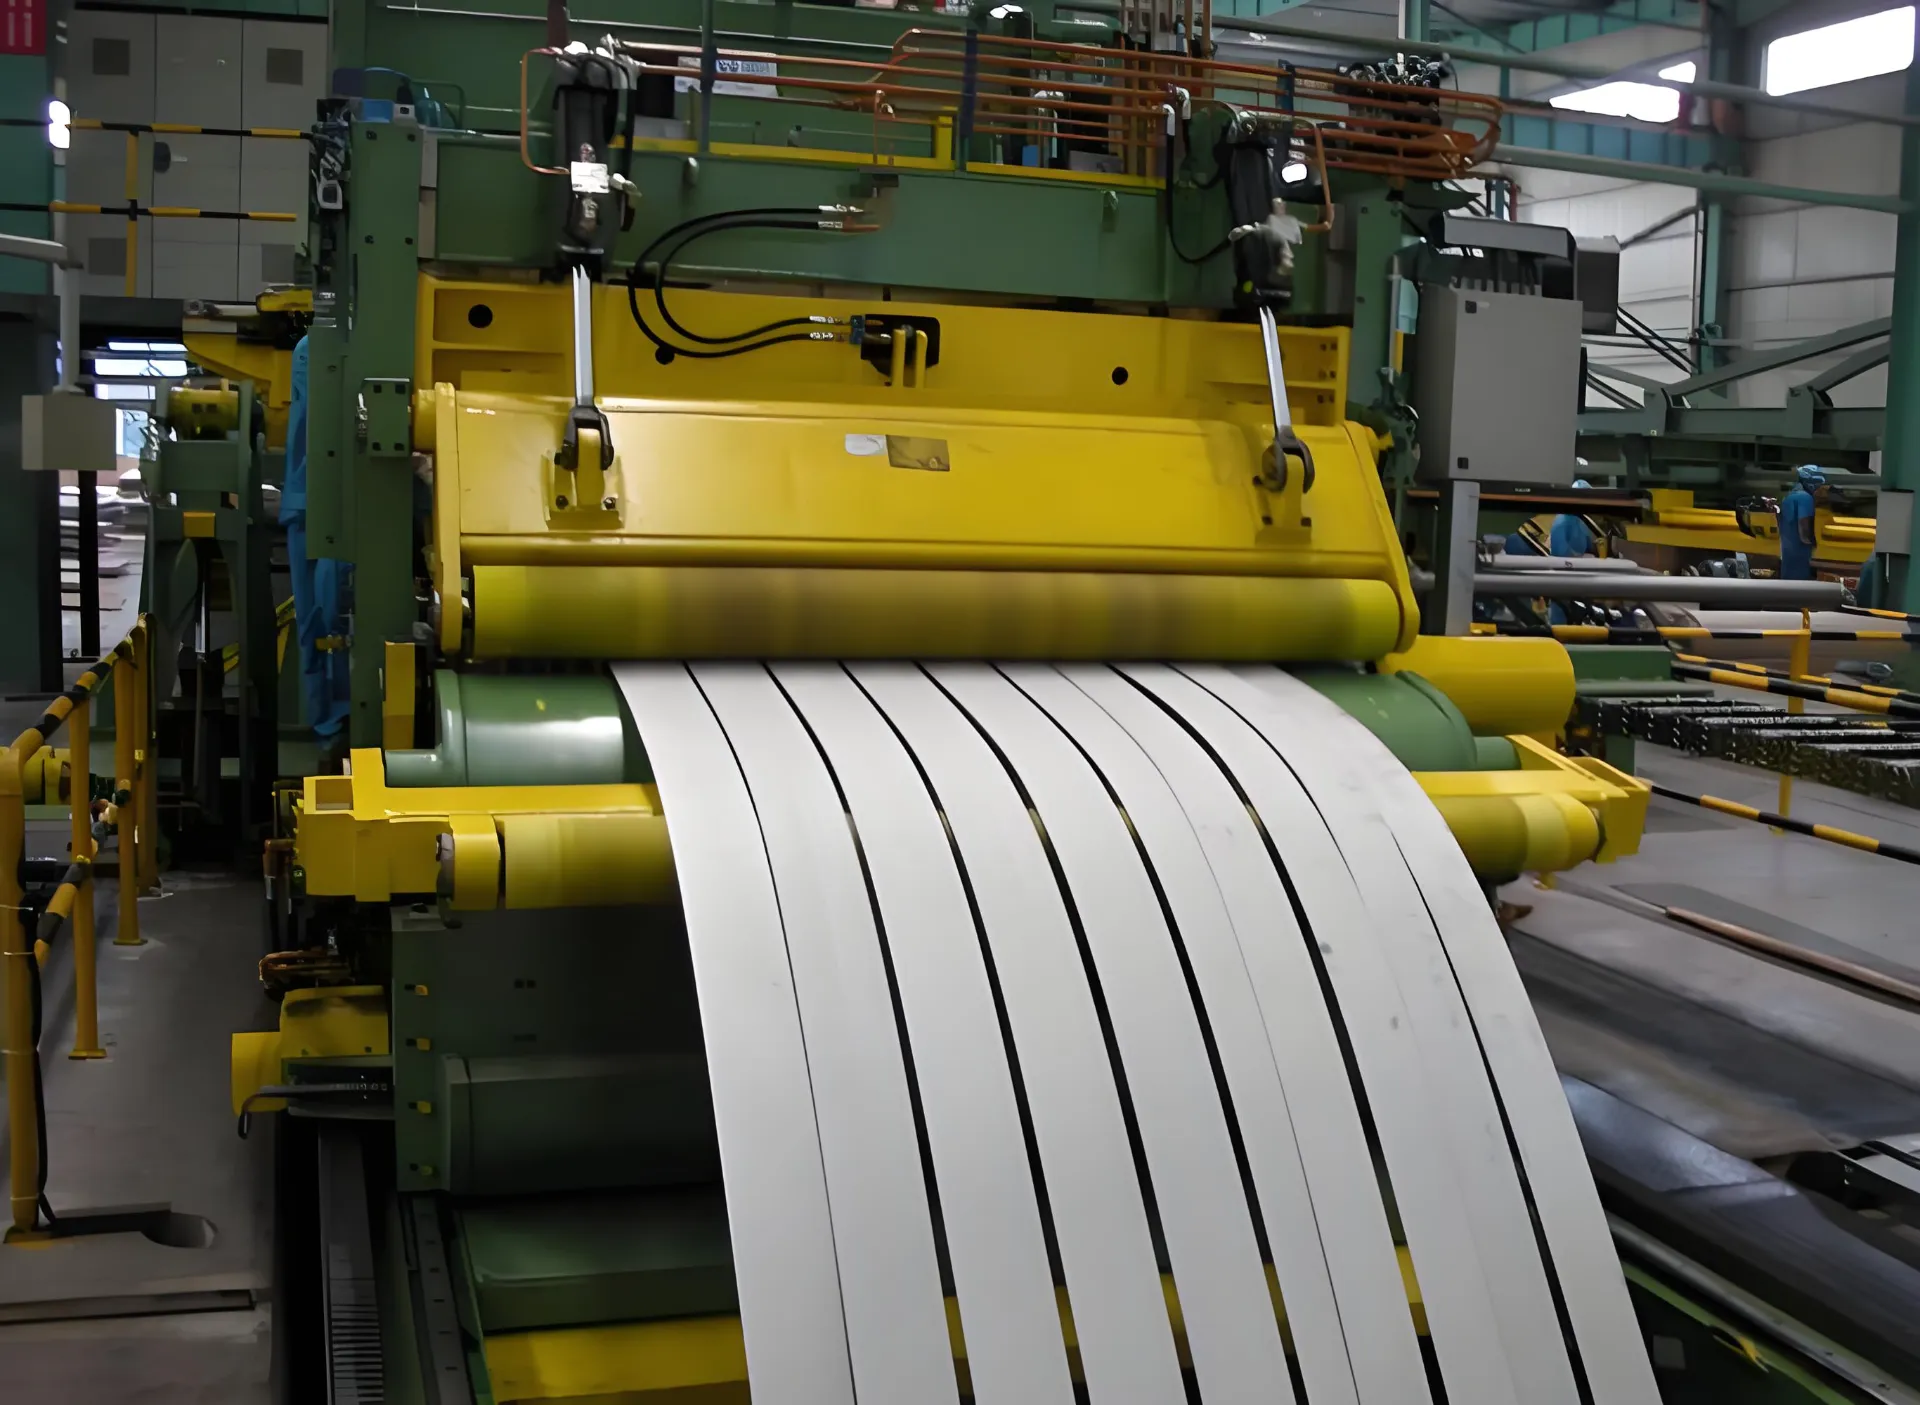
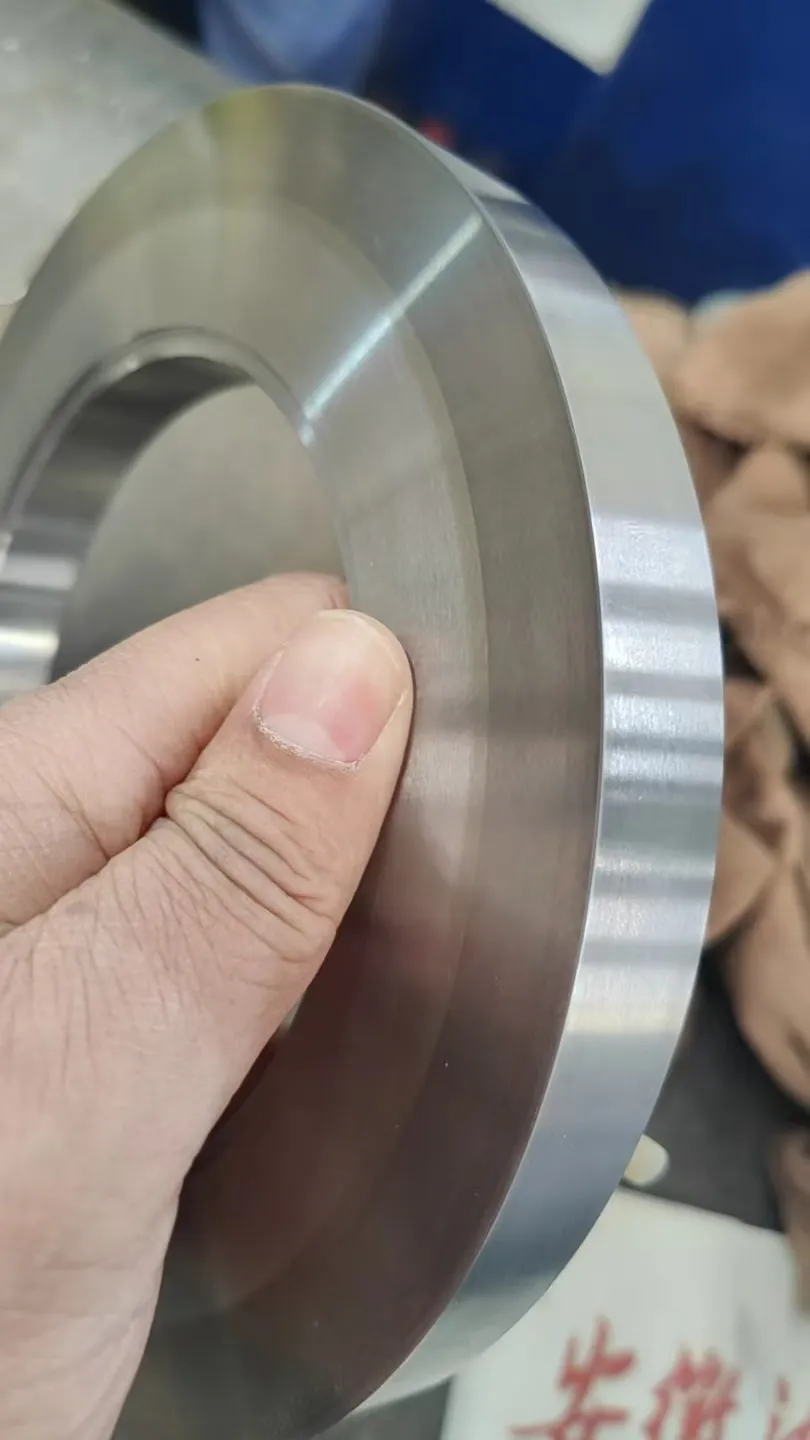
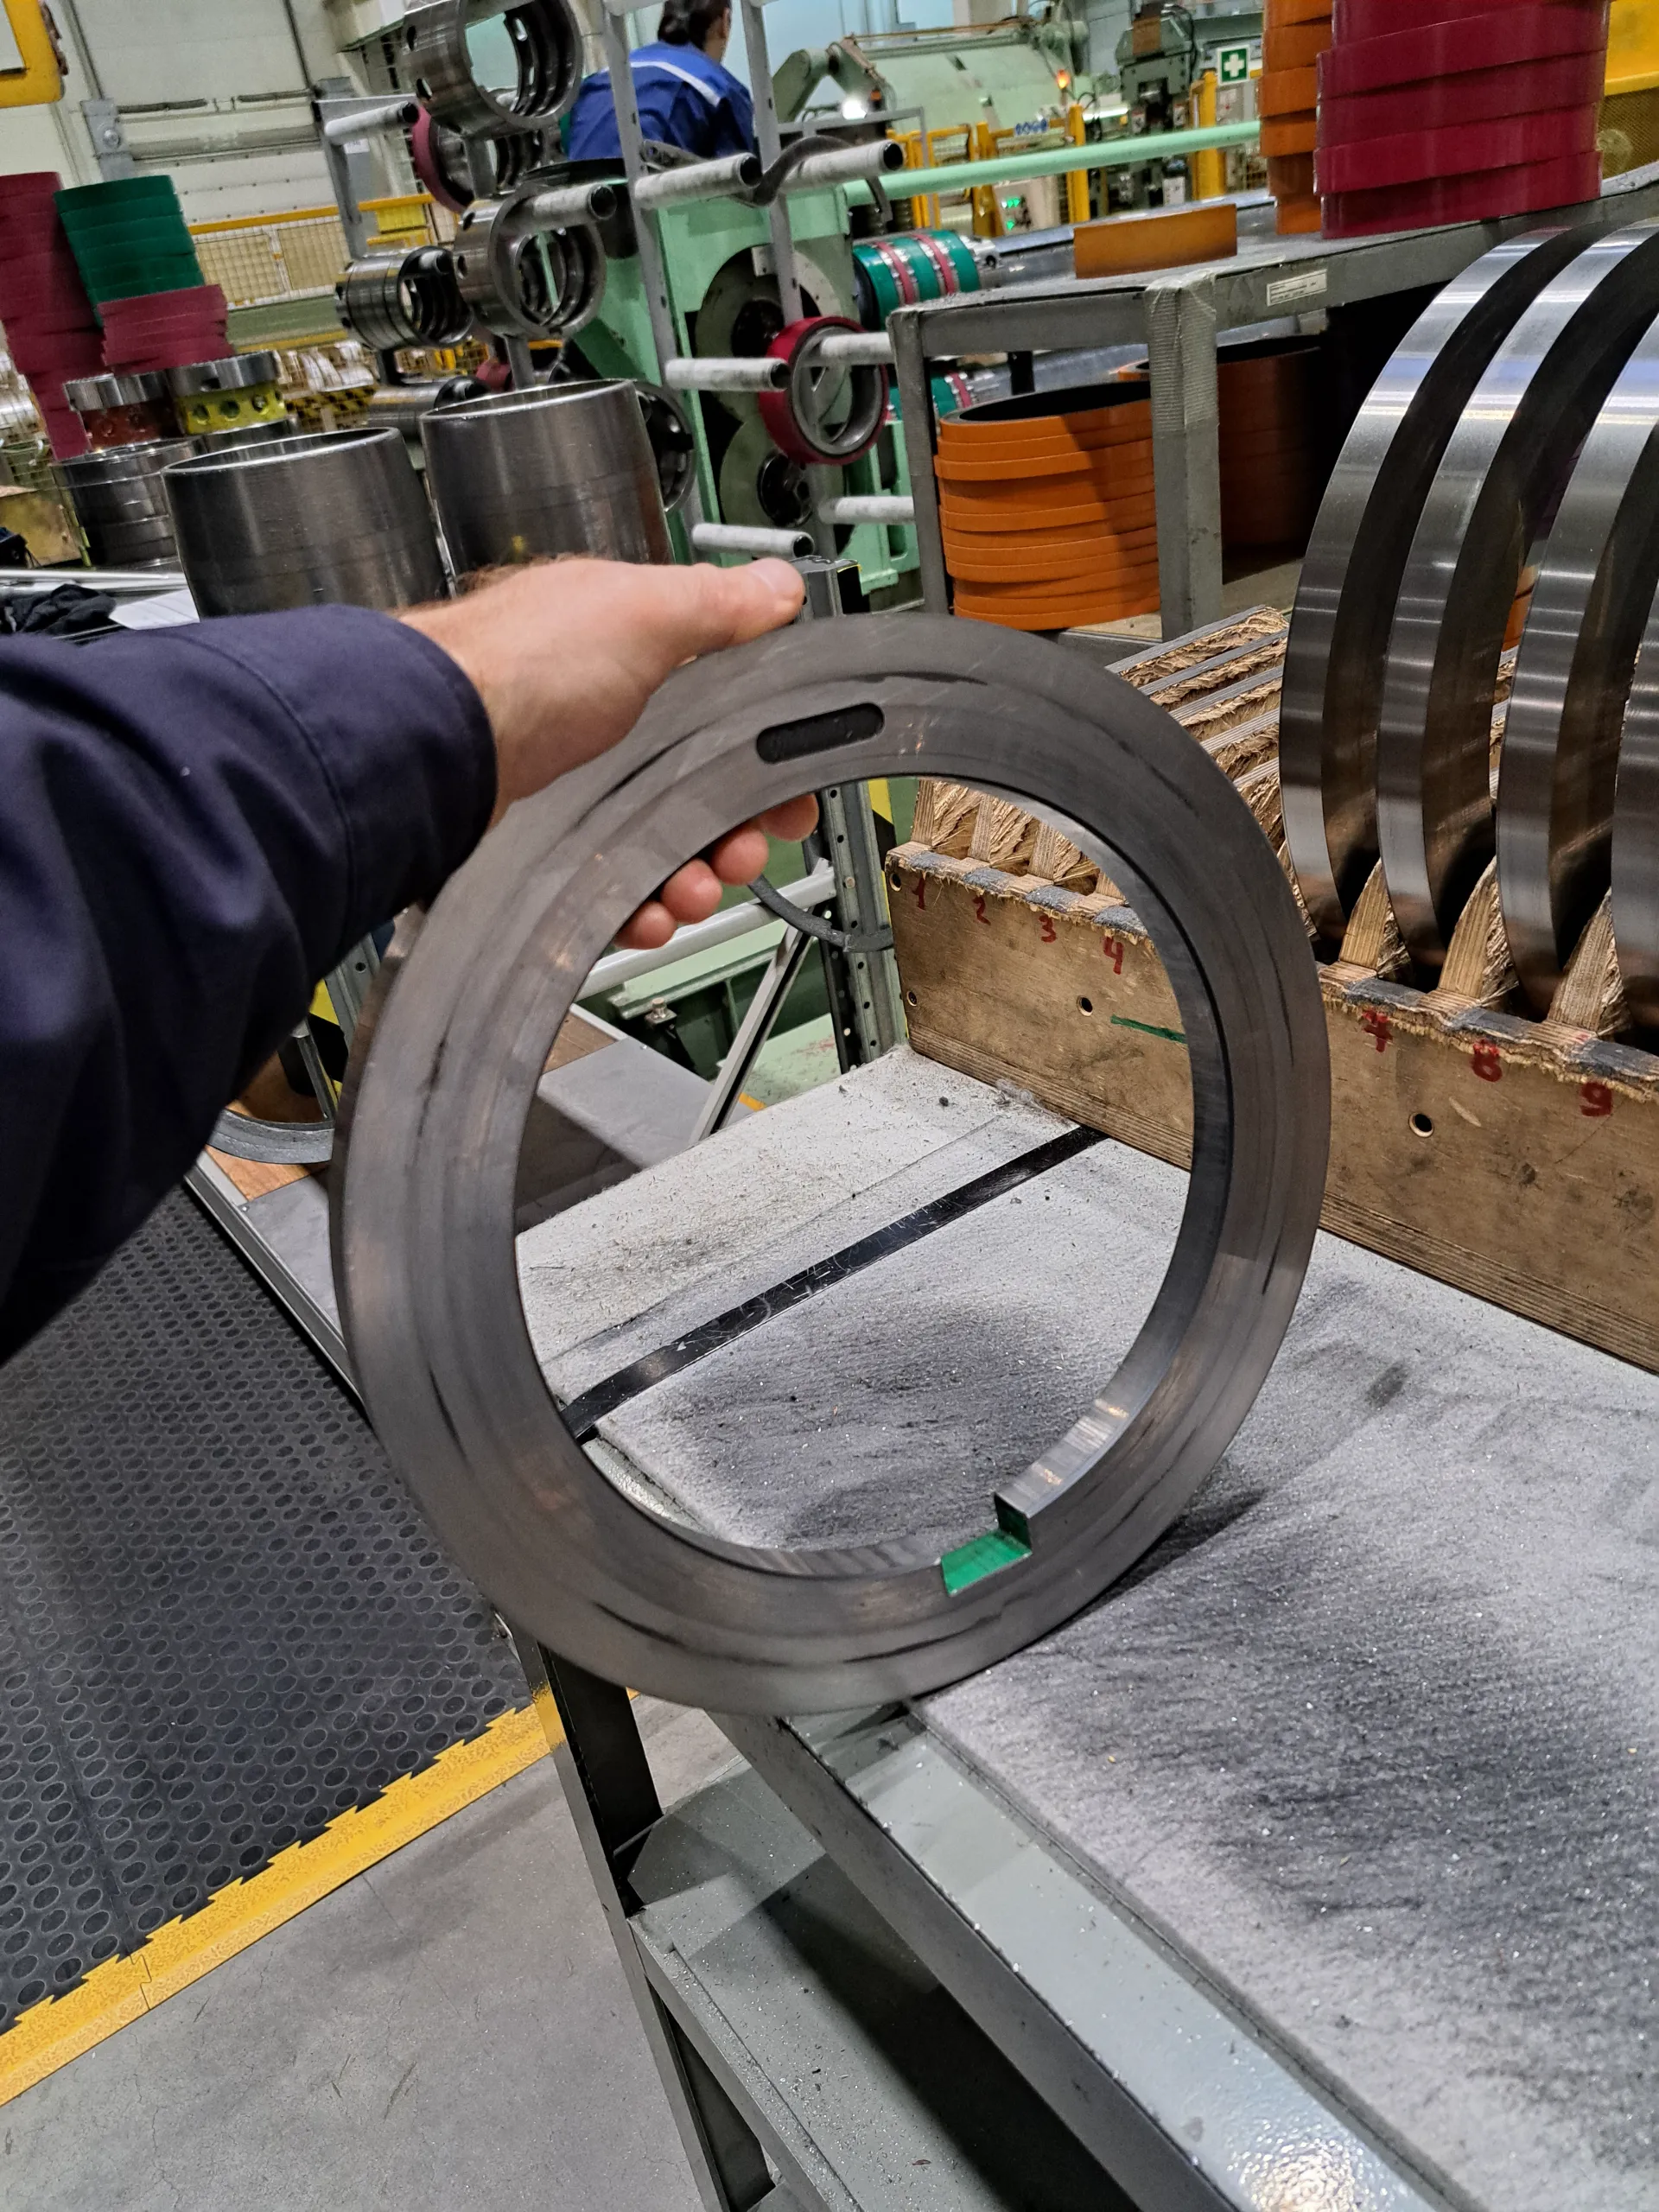
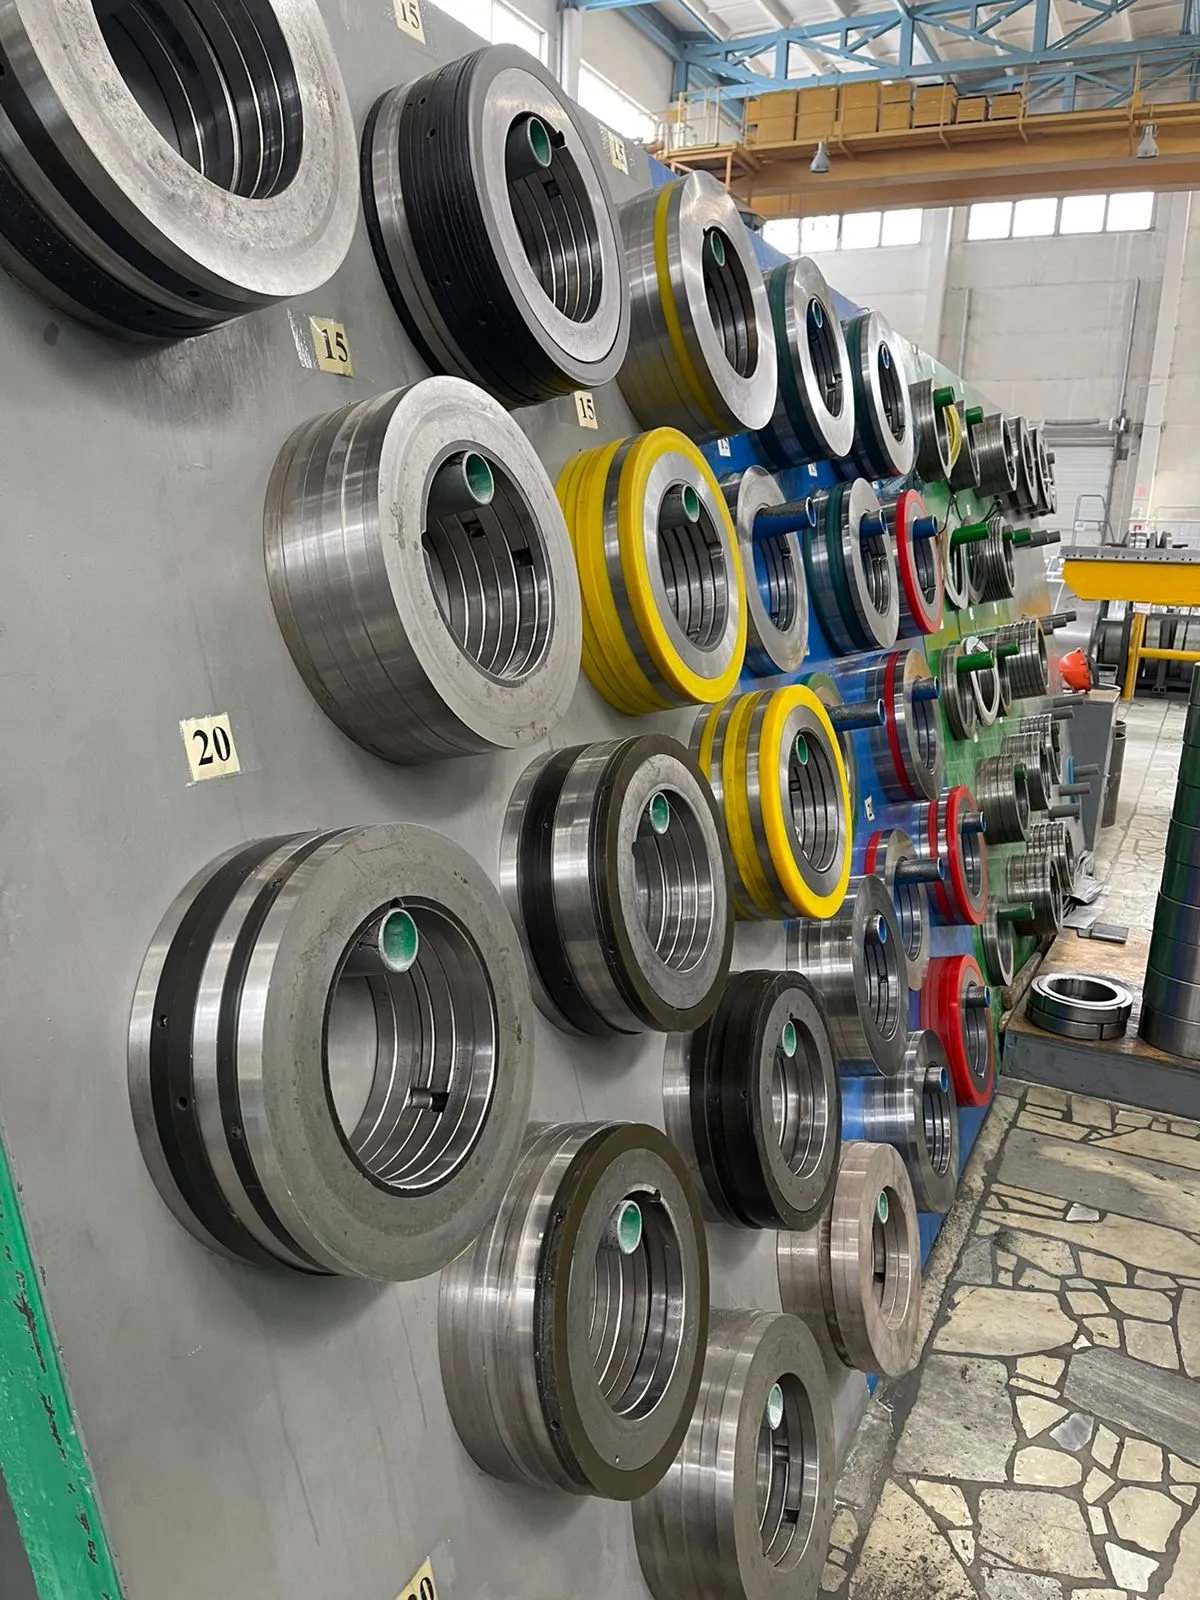
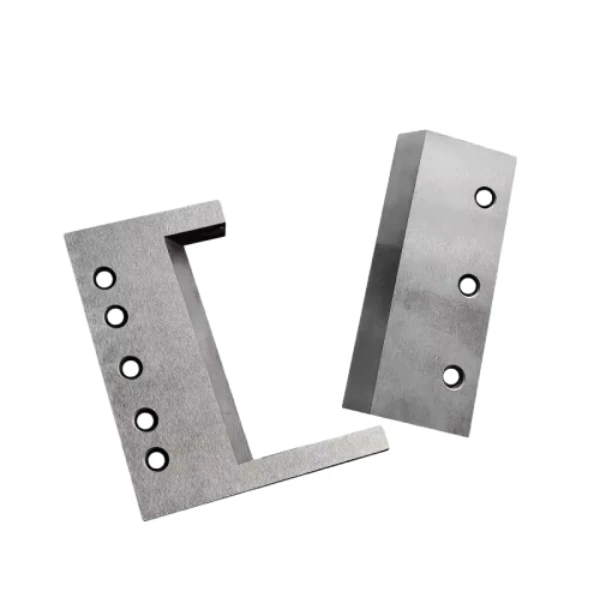
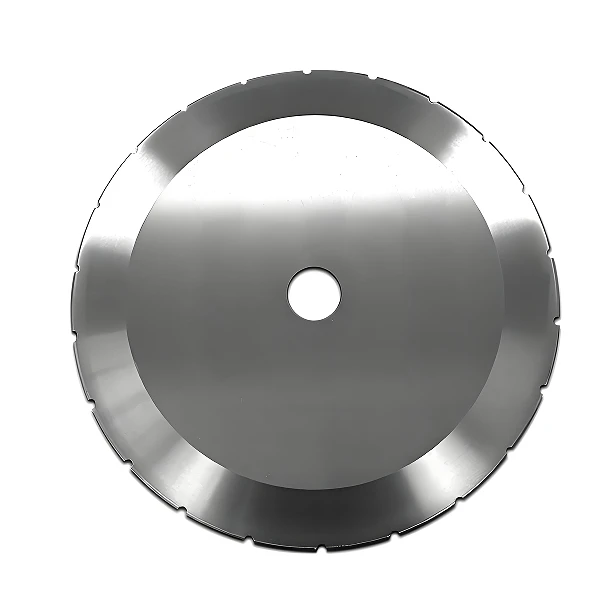
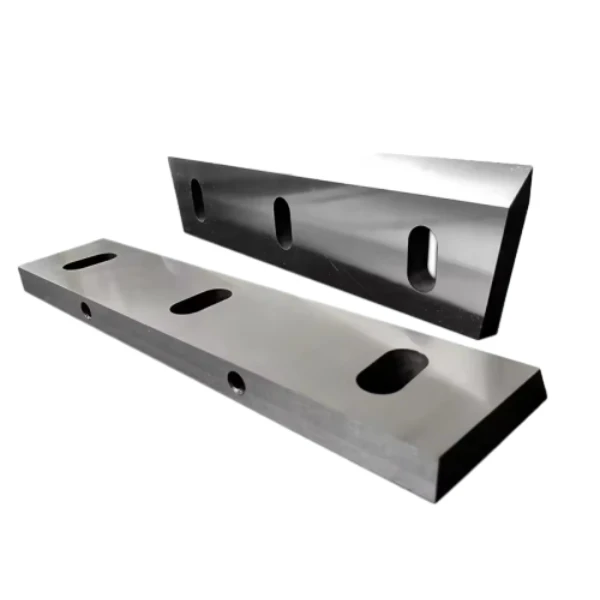
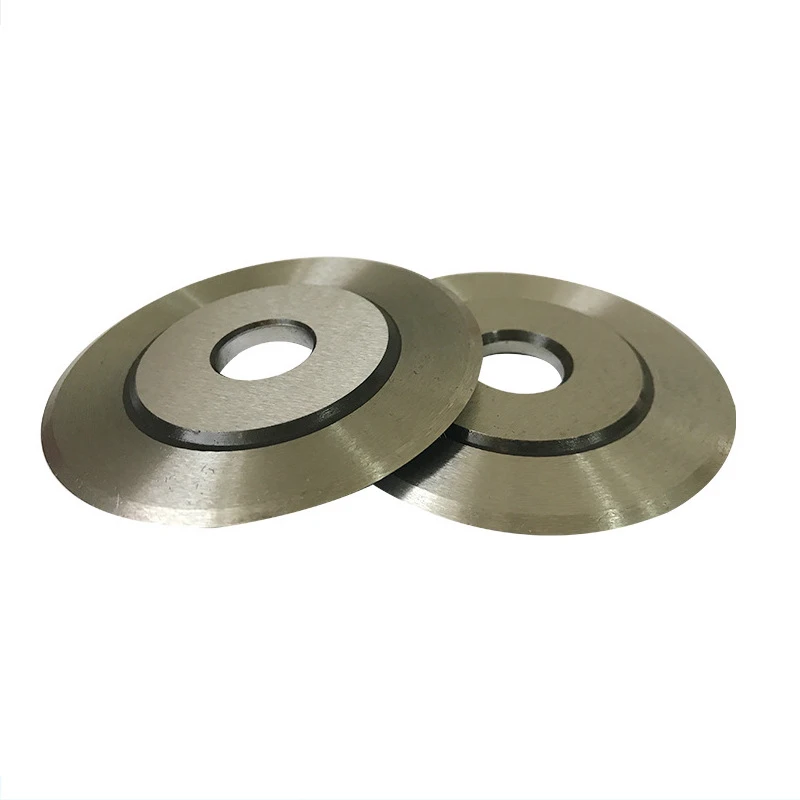
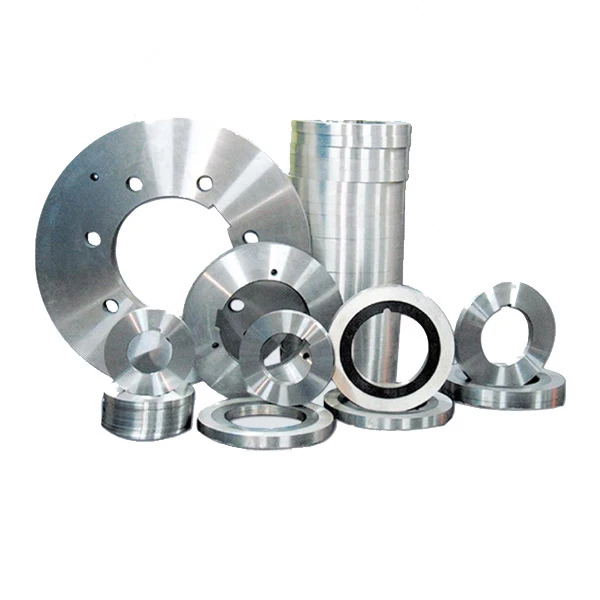
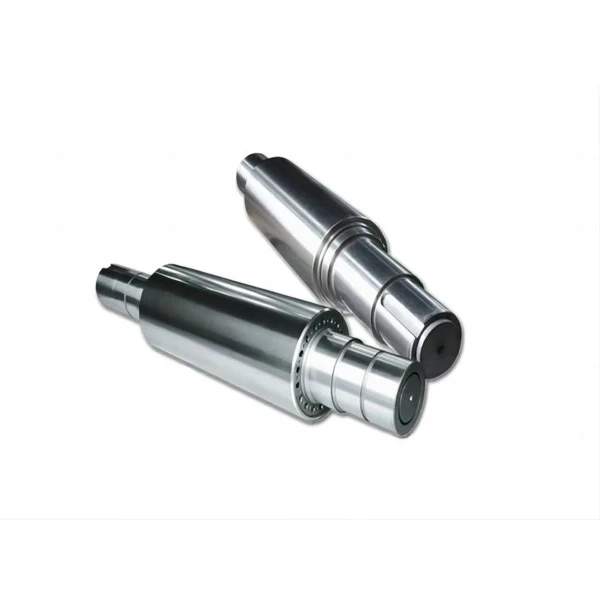
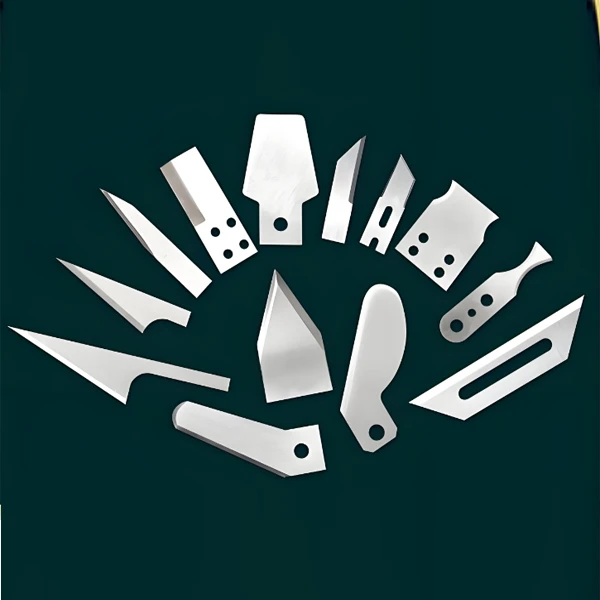
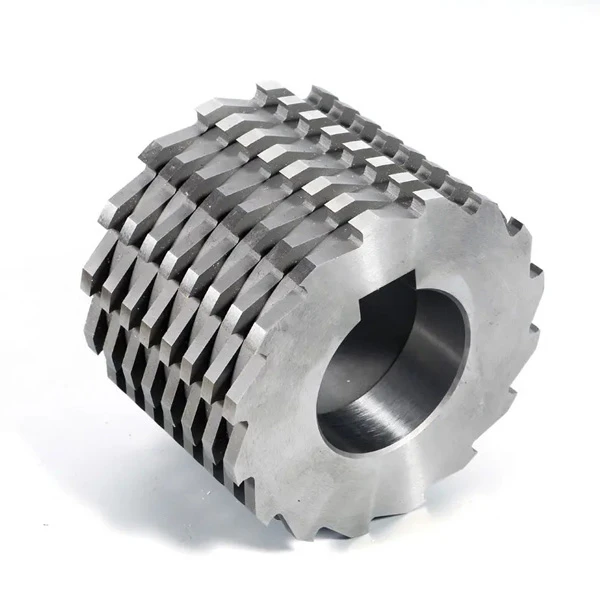
As the core cutting tool for longitudinal cutting lines, the precision control, material selection, and operational specifications of the slitting round knife directly determine the quality and production efficiency of slitting. The key technical points are as follows:
1、 Core elements of precision control
Horizontal gap adjustment: dynamically adjust the horizontal gap according to the thickness and strength of the material (such as taking 10% -15% of the material thickness when the thickness of cold-rolled steel plate is ≤ 1.0mm), ensuring no burrs or cuts; Stainless steel requires an additional 2% -3% gap to prevent coating detachment.
Overlap compensation mechanism: During high-speed cutting, the deformation of the blade axis will cause a decrease in the overlap in the middle section. During the trial cutting stage, the compensation amount needs to be manually increased (usually by 0.02-0.05mm).
Parallelism and flatness control: The flatness requirement for the cutterhead is ≤ 0.01mm. If the parallelism deviation of the cutterhead exceeds 0.05mm, it will result in unilateral burrs or batch scrap.
2、 Composition of cutting tool system
|
Component Type |
Functional Characteristics |
Technical Parameters |
|
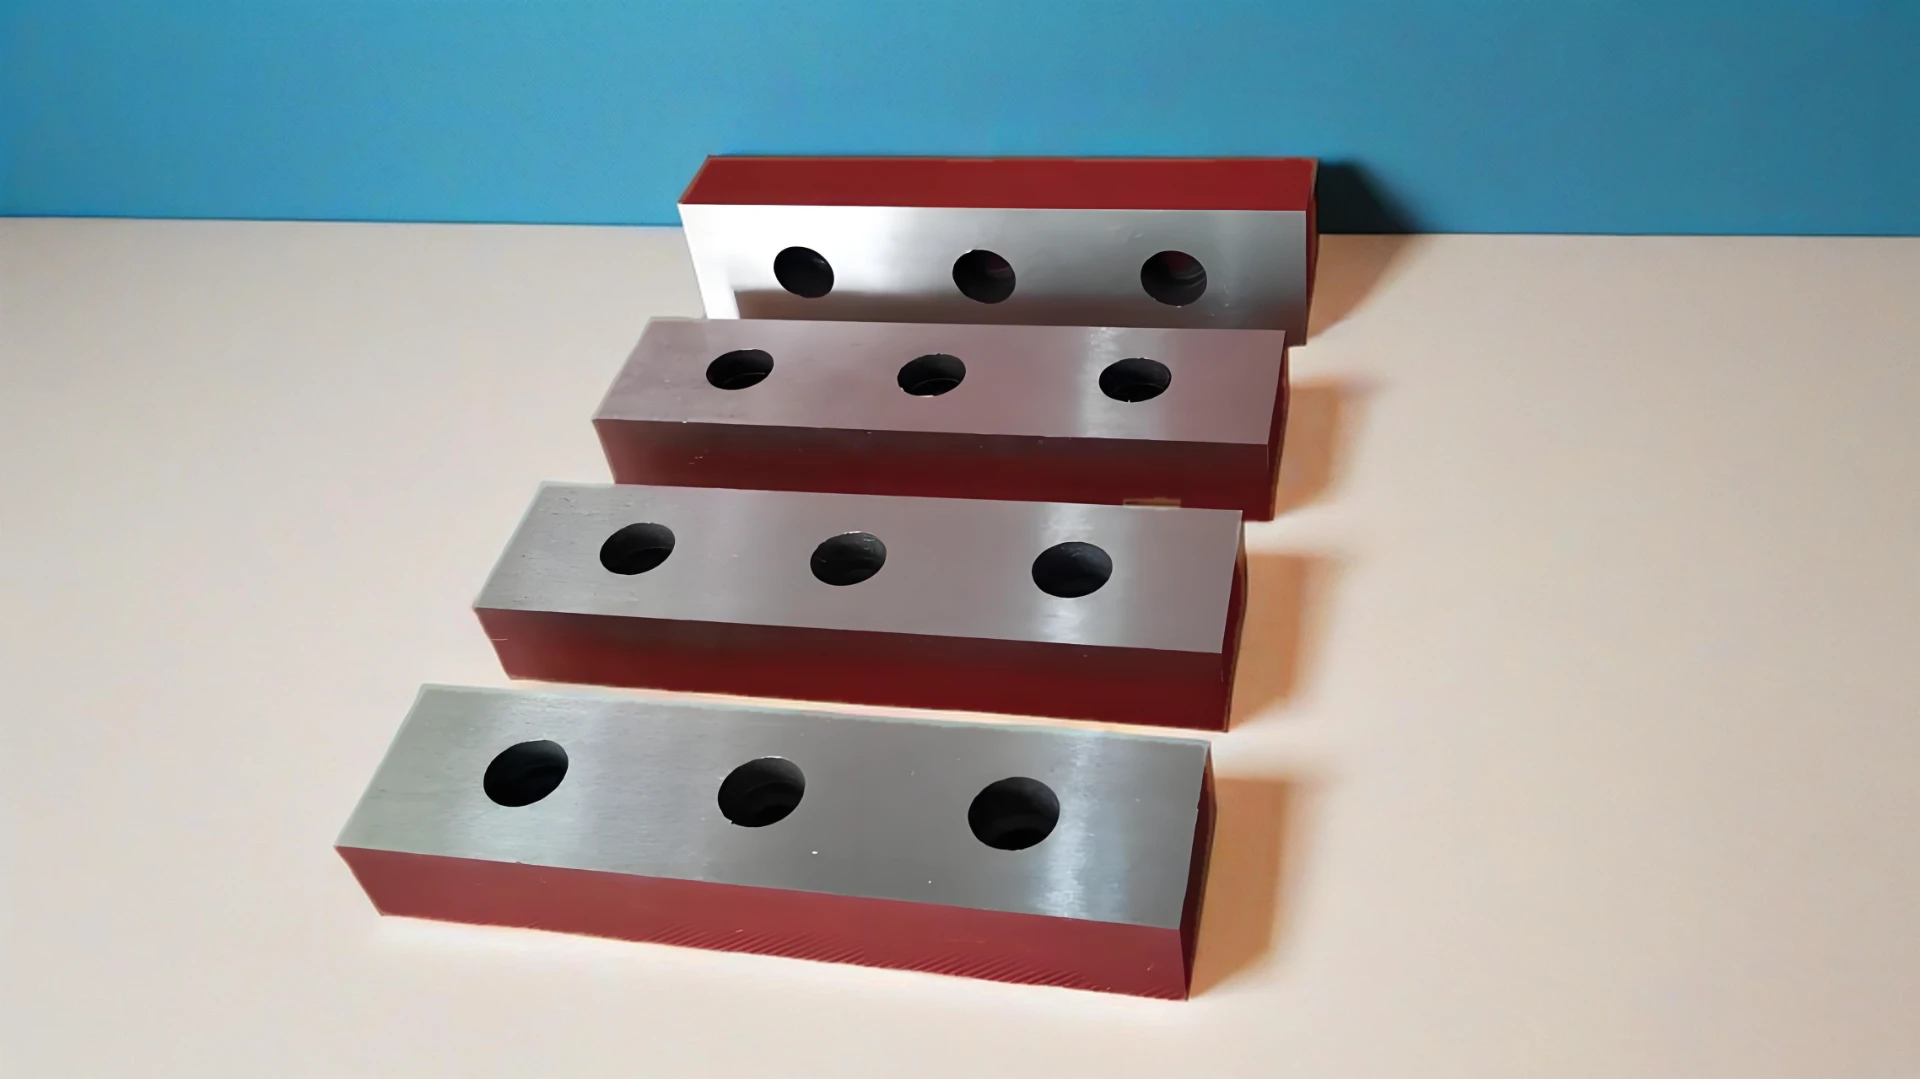
Slitting round knife |
Cr12MoV material hardness HRC58-62 |
Mirror/matte treatment reduces friction with a diameter of Φ 100-800mm and a thickness tolerance of ± 0.001mm |
|
Composite material return ring |
Rubber ring structure buffers shear stress and maintains gap stability |
Suitable for 0.01-0.5mm ultra-thin interval adjustment |
|
Precision spacer ring (gasket) |
65Mn chrome plated material, separated disc and set strip width |
Thickness 0.8-200mm, tolerance ≤ 0.003mm |
3、 Operating procedures and standards
Preparation stage for tool installation: Clean all tool contact surfaces, apply lubricating oil to the tool shaft to assist in installation; Thin spacer rings (such as 0.8mm) should be placed alternately with thick rings to prevent tilting.
Positioning logic for cutting: Position the first cutting disc based on the transmission side, with an error of ≤ 10mm; Calculation formula: Second cutting position=strip width+2 × (gap value - cutting disc thickness).
Key points for trial cutting verification: manually pull the strip to test the cutting state, and adjust the gap again if the burr height is greater than 0.03mm; During high-speed mass production, the gap is retested every 30 minutes.
2、 Fault prevention and maintenance
|
Abnormal phenomenon |
Cause analysis |
Solution |
|
Incision burnt |
The gap is too small (such as ≤ 0.04mm) |
Using YG type negative blades and increasing the gap |
|
Regular indentation |
The flatness of the cutterhead exceeds the tolerance |
Sharpen the grinding disc to an accuracy of ≤ 0.01mm |
|
Strip edge oxidation |
The flatness of the cutterhead exceeds the tolerance |
Sharpen the grinding disc to an accuracy of ≤ 0.01mm |
4、 Efficiency gains
After implementing a half hour gap retesting system in a certain enterprise, the service life of 304 stainless steel slitting tools increased by 50% and the scrap rate decreased by 40%.

